

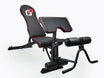
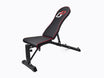


Multifunctional Bench
Assembly Guide


Before You Begin
- Important: It is crucial that the bench is assembled in the exact sequence presented in this guide.
- Ensure that the surface area where the bench will be assembled is level.
- This guide is split into steps breaking down the assembly of the bench. Each step contains multiple swipeable images. You can also find pulsing circles outlining the focus points of the step. Clicking on a circle will provide a close-up image with helpful angles.
- Part names and useful information is underlined throughout this guide. Clicking or hovering over the underlined word will provide additional insight into the item. Please note that some of the mentioned parts are already preassembled for you.
- Always read the tips at the bottom of every step before beginning the instructions.
- It's a good idea to get familiar with the Parts List before beginning assembly. This way you can guarantee which pieces are used in each step and ensure there isn't anything missing in the box upon arrival.
Assembly Guide
1
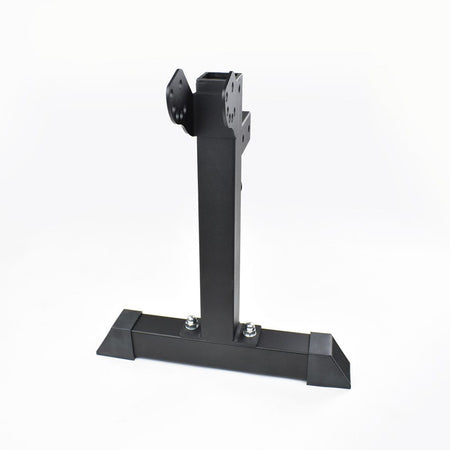
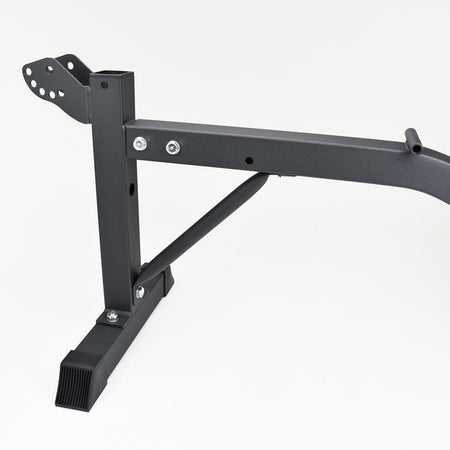
1) Connect the Front Leg to the Front Frame with 2x Round Bolt, 2x Large Washer and 2x Dome Nut.
2) Connect the Main Frame to the Front Frame with 2x Hex Bolt 5, 4x Large Washer and 2x Lock Nut. The head of the Round Bolt should not make contact with the ground. Click the circles in the above picture for close-up views.
2) Connect the Main Frame to the Front Frame with 2x Hex Bolt 5, 4x Large Washer and 2x Lock Nut.
2
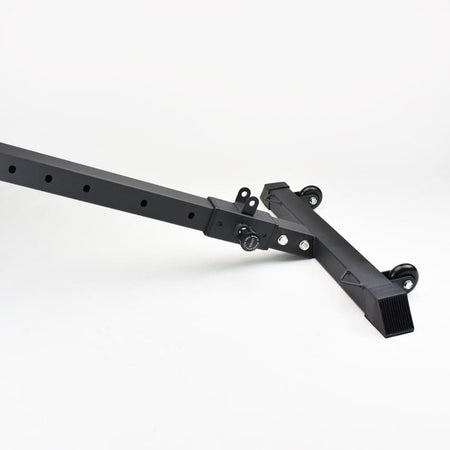
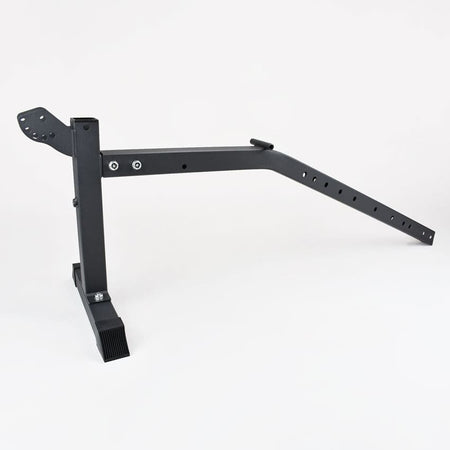
2) Secure the Main Frame and Front Frame together with the Main Frame Support, 2x Hex Bolt 2 and 2x Large Washer.
2) Connect the Rear Leg to the Main Frame with 2x Hex Bolt 5, 4x Large Washer and 2x Lock Nut. It is important to not overtighten Hex Bolt 2 as it can damage the thread in the frames. If the holes for Main Frame Support aren't aligning, completely loosen the connection between the Front Frame/Main Frame and try again.
2) Connect the Rear Leg to the Main Frame with 2x Hex Bolt 5, 4x Large Washer and 2x Lock Nut.
3
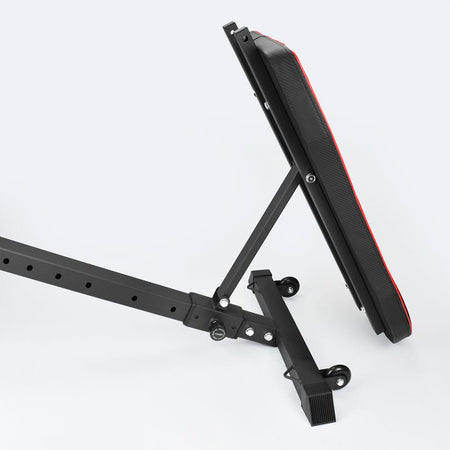
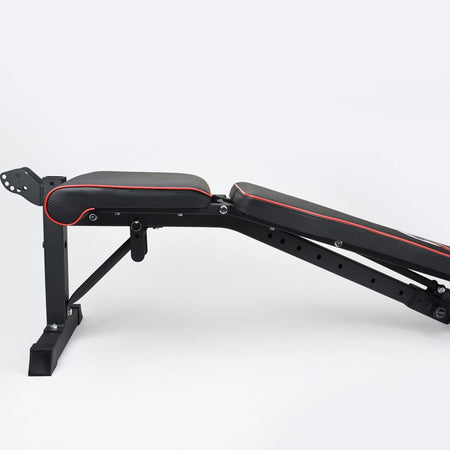
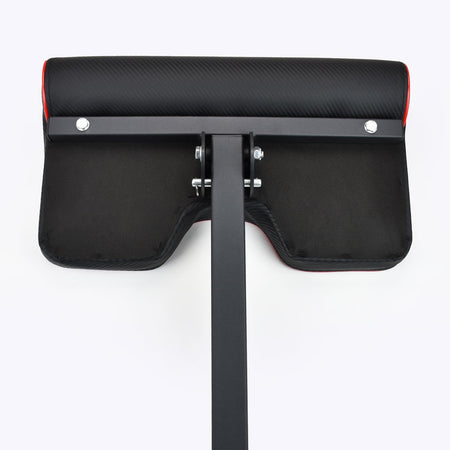
1) Rest the top of the Backrest on the ground and connect the Backrest Angle Frame to the Angle Lock with 1x Hex Bolt 5, 2x Large Washer and 1x Lock Nut.
2) Place the Seat onto the Main Frame. Line up both ends of the Seat and Backrest frames with the connection point on the Main Frame. Join with 1x Hex Bolt 8, 2x Large Washer and 1x Lock Nut. Insert the Large Locking Pin into the Seat Lock and through the Main Frame. Tighten all preassembled nuts and bolts on the Backrest and Seat. You may loosen and readjust the alignment and positioning of the pads if desired.
2) Place the Seat onto the Main Frame. Line up both ends of the Seat and Backrest frames with the connection point on the Main Frame. Join with 1x Hex Bolt 8, 2x Large Washer and 1x Lock Nut. Insert the Large Locking Pin into the Seat Lock and through the Main Frame.
4
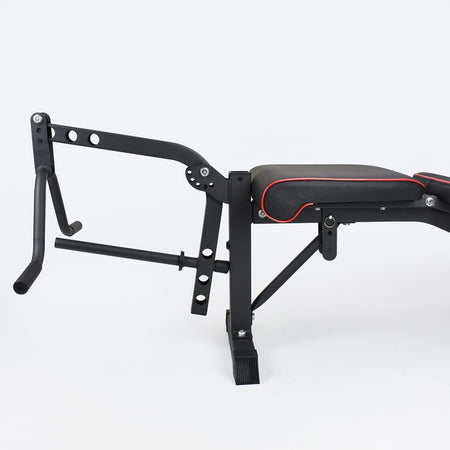
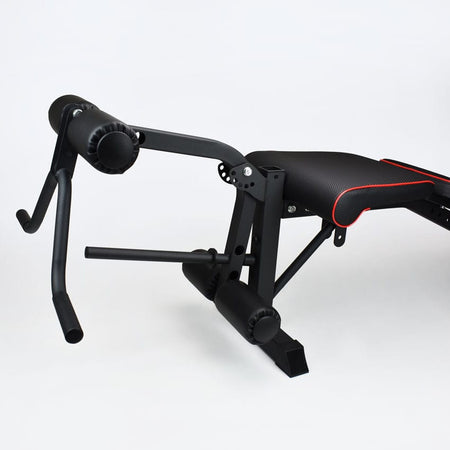
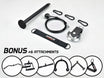
1) Connect the Leg Attachment to the Front Frame with 1x Hex Bolt 6, 2x Large Washer, and 1x Lock Nut. Optional: Attach the Preacher Handle to the Leg Attachment with 1x Hex Bolt 4, 2x Large Washer, and 1x Lock Nut.
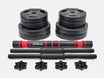
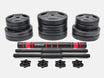
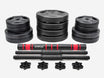
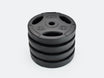
2) Insert Foot Pad Poles into the top and bottom sections of the Leg Attachment. Twist the Foot Pads onto both ends of the Foot Pad Pole. If top and bottom Foot Pads are at suitable distances, secure them with Foot Pad Locks on each end. Before installing the Foot Pad Locks, perform leg extensions and lying hamstring curl to feel if the pads need to change positions. The Preacher Handle can also be adjusted by changing the hole the bolt is inserted into.
2) Insert Foot Pad Poles into the top and bottom sections of the Leg Attachment. Twist the Foot Pads onto both ends of the Foot Pad Pole. If top and bottom Foot Pads are at suitable distances, secure them with Foot Pad Locks on each end.
5
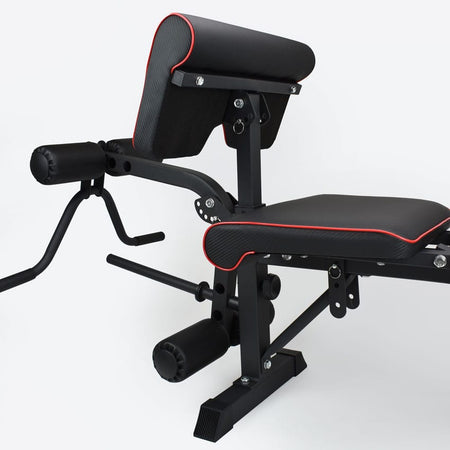
1) Insert the Preacher Pole into the Preacher Frame from the bottom side and join with 1x Hex Bolt 6, 2x Large Washer and 1x Lock Nut. Insert the Small Locking Pin into the Preacher Frame and through the Preacher Pole at your desired angle.
2) Insert the Preacher Pole into the Front Frame and lower it to the appropriate height. Secure the position by twisting the Preacher Lock. Tighten all preassembled bolts on the Preacher Frame. The only remaining piece should be a Small Locking Pin. Its purpose is to lock the Leg Attachment into the Front Frame to provide support during various exercises.
2) Insert the Preacher Pole into the Front Frame and lower it to the appropriate height. Secure the position by twisting the Preacher Lock.
Exercises Set Up
Seated Leg Extension
1) Lift the Seat to the highest position
2) Insert the Foot Pads at the highest position on the bottom section
Lying Hamstring Curl
1) Flatten the Backrest and Seat
2) Insert the Foot Pads on the top section hole which lines up to your ankles
3) Lie face down on the bench with the back of your ankles below the top Foot Pads
Sit Ups
1) Put the Backrest into decline
2) Put the Seat into the highest position
3) Lock the Preacher Pad at a comfortable height and angle
4) Insert the Foot Pads into the last hole on the top section
5) Lock the Leg Attachment at an angle that can support your feet
Hyper-Extensions
1) Lock the Preacher Pad to a height just below your waistline
2) Lock the Preacher at a flat angle
3) Stand above the Leg Attachment and face toward the Preacher Pad
4) Lock the Leg Attachment where it holds the back of your ankles firmly
5) Adjust the bottom Foot Pads to a comfortable hole
If you require any further assistance with your Multifunctional Bench please contact us here 🙂
Was this product guide helpful?
